There are a couple of projects that I have yet to feature on my blog, so make sure to drop by and take a look!
Saturday 12 March 2016
My Personal Site - stevenpayne.squarespace.com
To make my work a bit easier to access, I've opted to compile some of my more successful projects into a more focused and personal website:
Monday 29 June 2015


Monday 11 May 2015
Monday 6 April 2015
Major Project: Cellar Fog Experiments
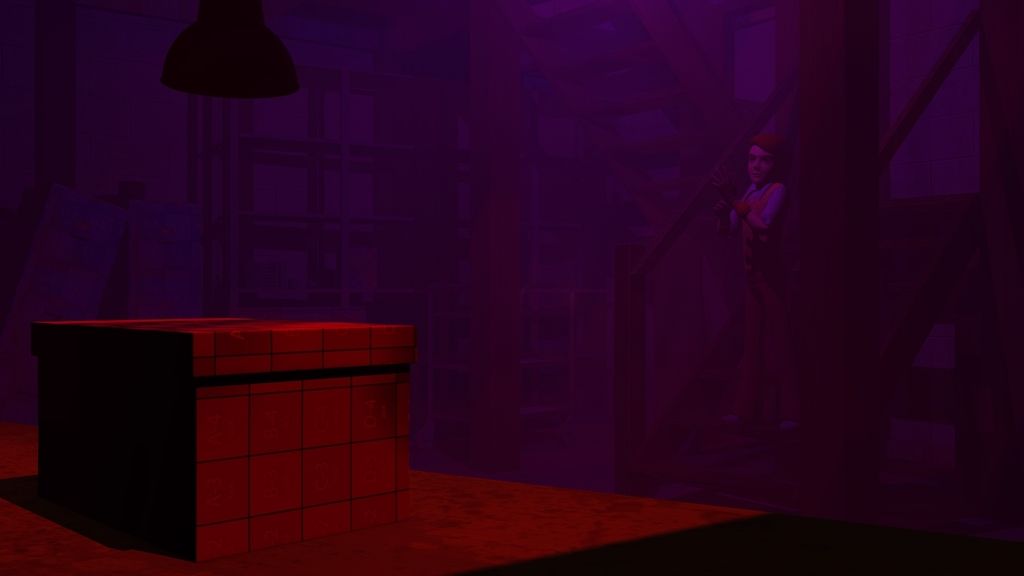
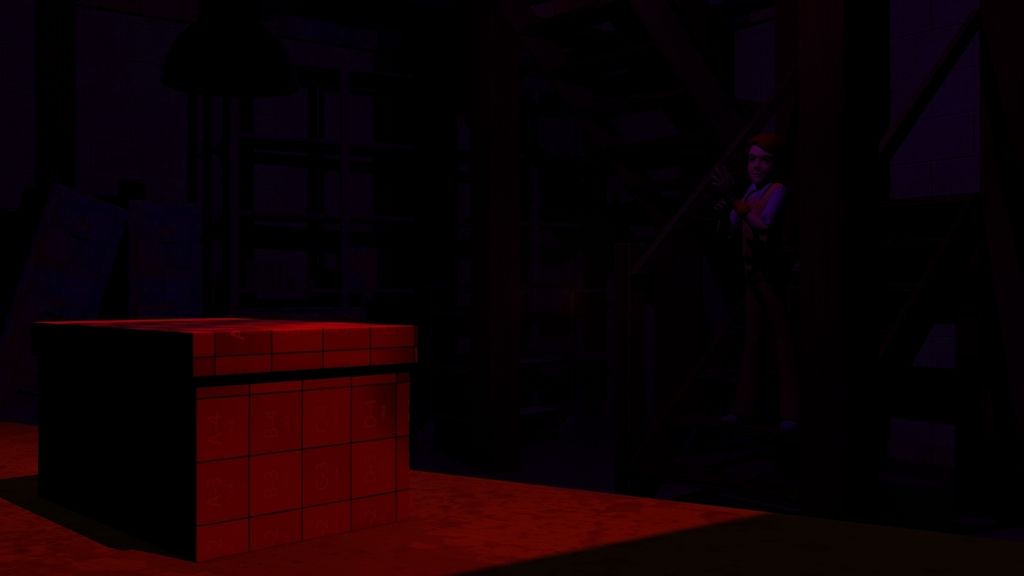
Earlier in my lighting tests, I setup a simple atmospheric fog system using a cube Volume Primitive, although I didn't really do much with it. However, seeing as I'm aiming to obscure the backdrop, pushing objects into the darkness, I've began to discover whether this can be achieved with this particular setup.
Below are examples of my experiments, each with variations in fog density, colour and the size and shape of the containing Volume Primitive. Some examples are far more atmospheric than others, but either way I am pleasantly surprised with how much of a dramatic impact this simple addition makes.
The first two and last examples are particular favourites of mine, as they add a considerable amount of atmosphere whilst successfully masking a large portion of the environment. I will aim to add a bit more density in places to mask certain areas more efficiently, however, paired with adjustments in depth of field and the use of very tight camera angles, this may not be as necessary as initially perceived.
As for lighting, the single source of natural light (the window) adds atmosphere in these shots, although it is not hugely practical. I will likely employ what I am calling 'illogical sources of light', by which I mean, light sources that exist purely for practicality, with no logical origin. In terms of additional, practical atmosphere, I may add some 'Shallow Grave' lighting, referring to the lighting of the scenes in the attic. Examples of what I mean by can be seen here and here.
As well as these experiments, I have also been continuing to texturing the existing assets. Specifically, I've been aiming to have all assets for the first scene ready to go within the next day or so, allowing me to start animating the opening this week.
Tuesday 31 March 2015
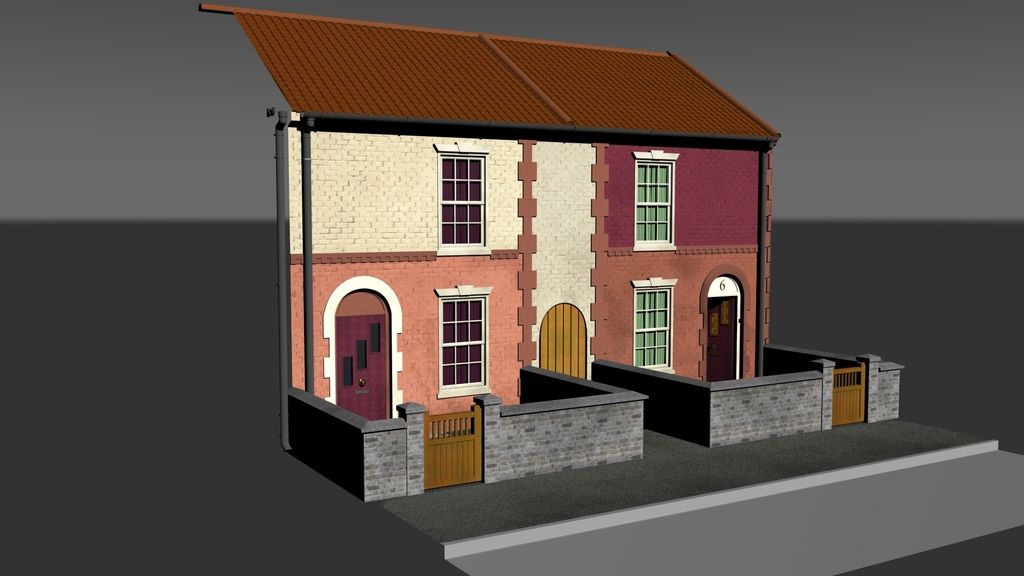
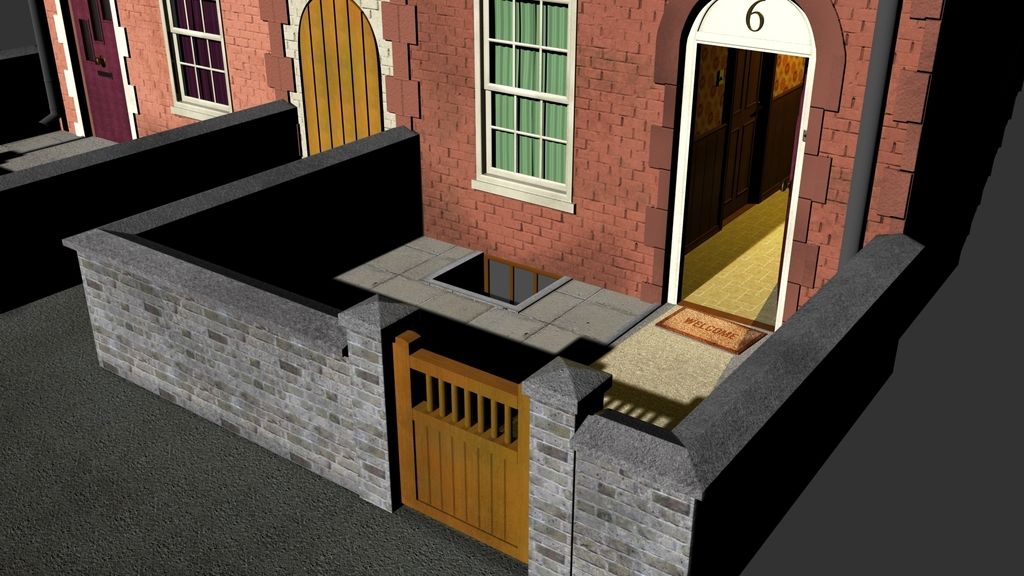
Major Project: Street Texturing Progress
The Street environment is more or less textured now. There are some little adjustments that need to be made, but overall, it appears to be coming together.
Some corners have been cut, such as the roof, which is simply a coloured lambert with a displacement map, as it will only be seen from a distance in very few shots.
All that remains is the lighting of the Street and the Hallway, and this should be ready to be tessellated animated within.
Friday 27 March 2015
Major Project: Cellar Lighting Experiments
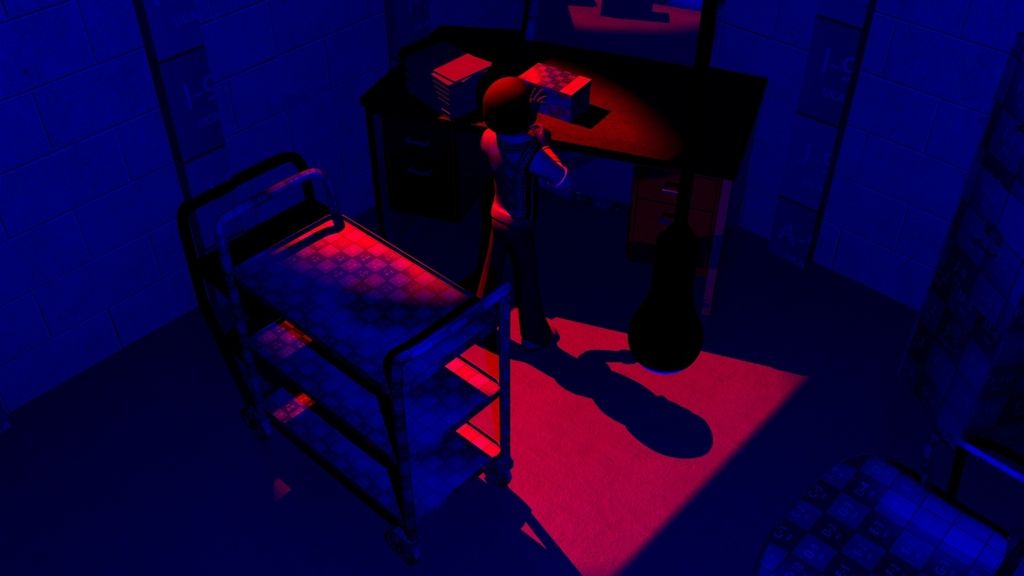
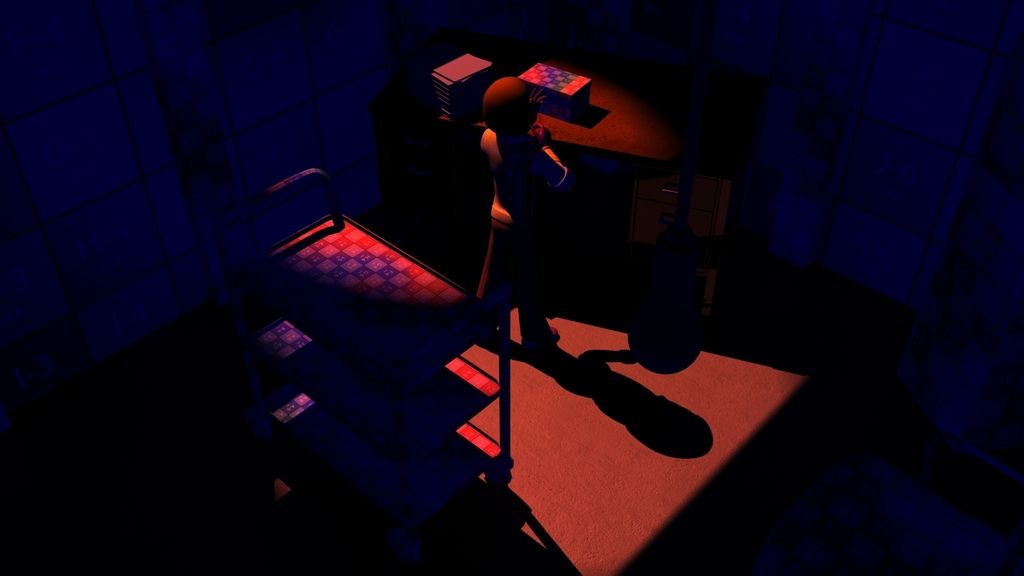
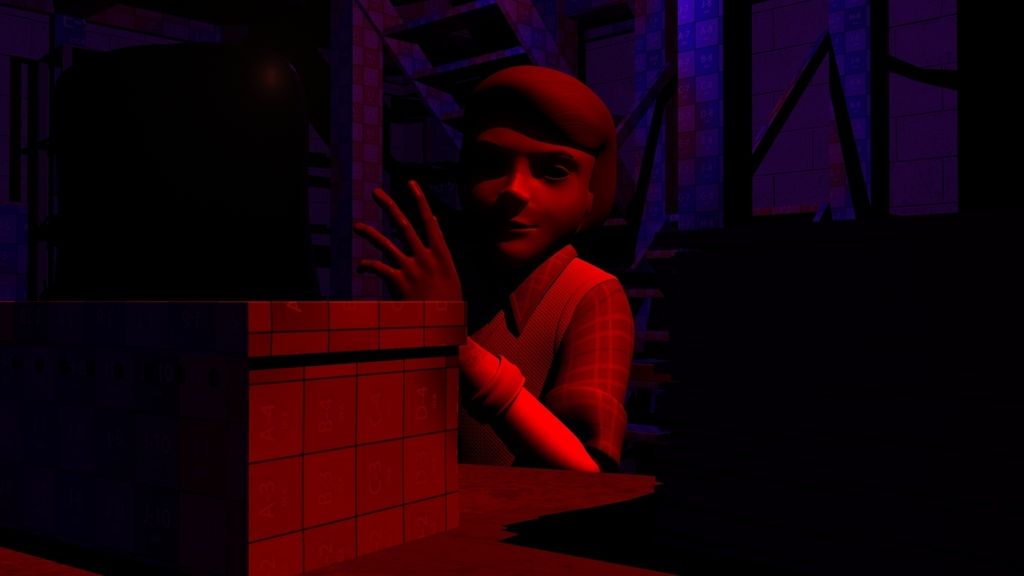
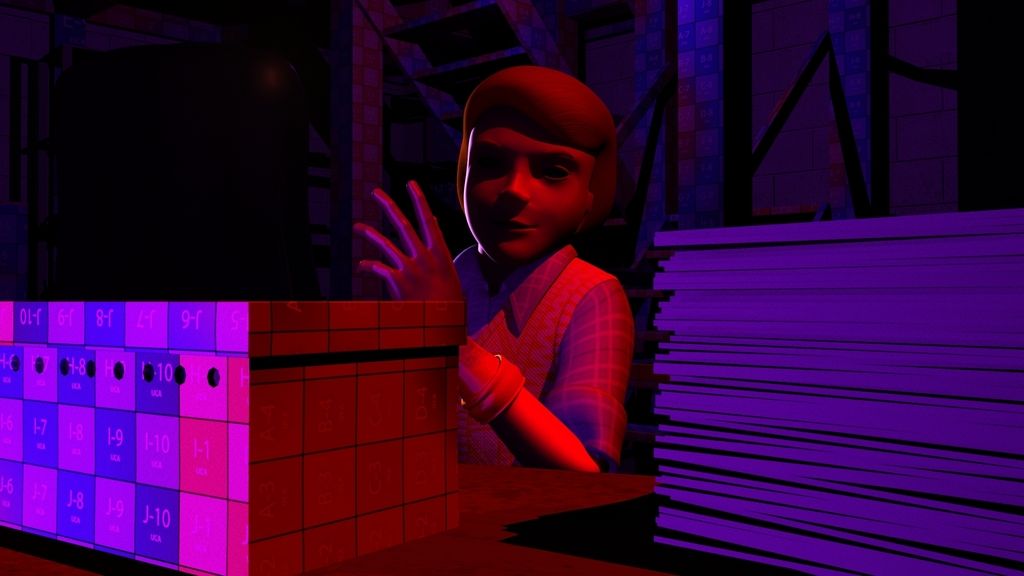
Contrasting the fairly natural lighting of the Street and Hallway environments, I've drifted towards a Giallo/Argento inspired setup of vivid colours and heavy shadows.
This particular style adds a sense of theatricality and dread to the scene, as well as practicality in the sense of obscuring the background.
Not to mention that this style fits the period suitably, being that films such as Suspiria and Deep Red were released throughout the 1970s.
After the previous post, I chose to drop the Physical Sun and Portal Light in favour of a more theatrical setup of standard Maya lights (in this case, a Spot Light and a Point Light).
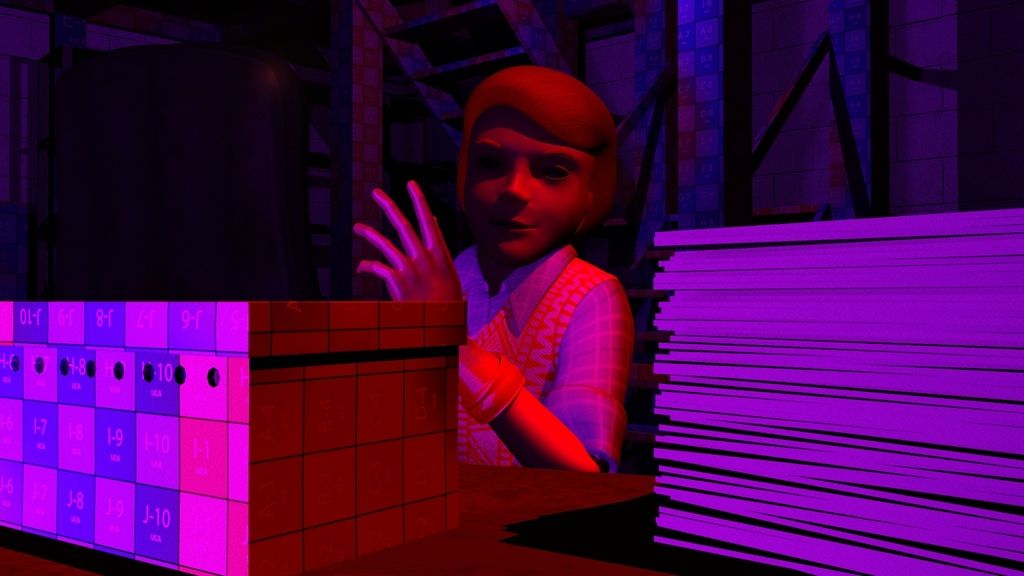
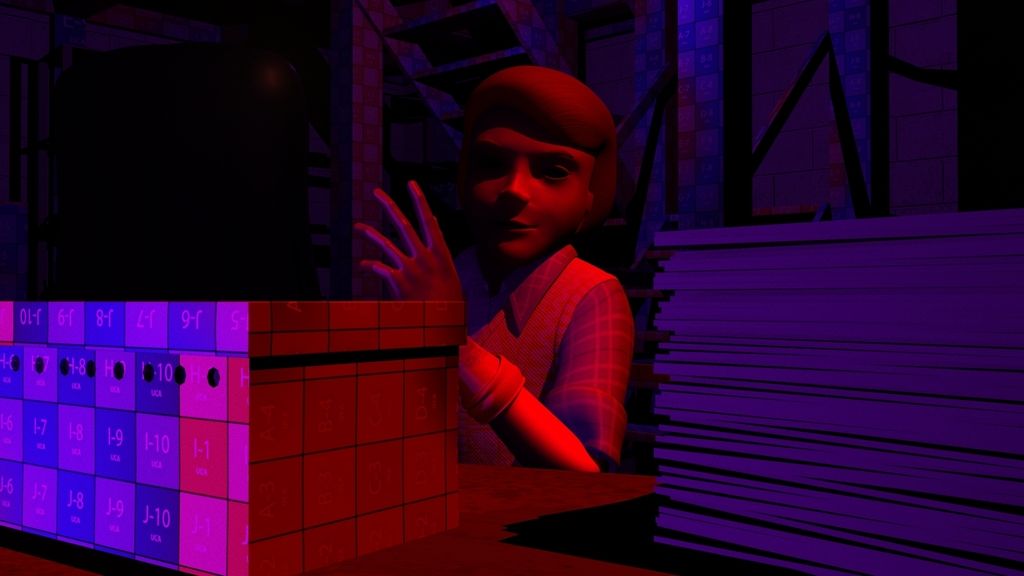
In terms of colour choice, the vivid red spot light works well, however the more purple light functions as something of a connective storytelling component as a result of its similarity to the hair dye used in the scene, as well as the stains on Franklin's clothing.
The blue fill light was chosen initially for it's common use as a colour representative of darkness in cinema. This works fine, although I found myself more drawn to the vivid purple fill light, as it serves the same purpose, yet amplifies the creepiness of the scene somewhat. However, this particular colour scheme is more reminiscent of the 1980s than the 1970s, so I may settle on a colour scheme that suits the period better instead.
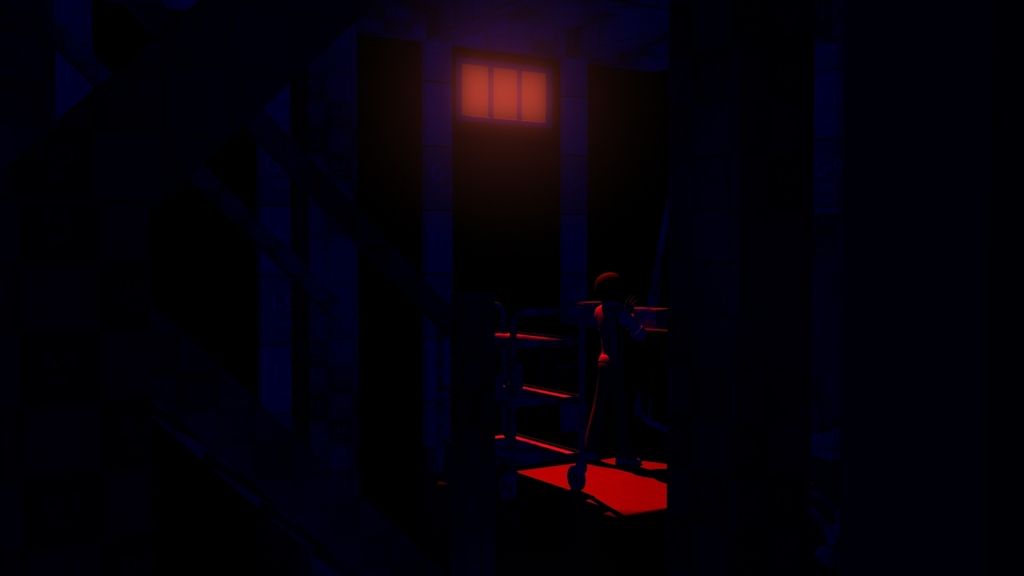 |
| Red Spotlight Through Window, Dark Blue Point Light |
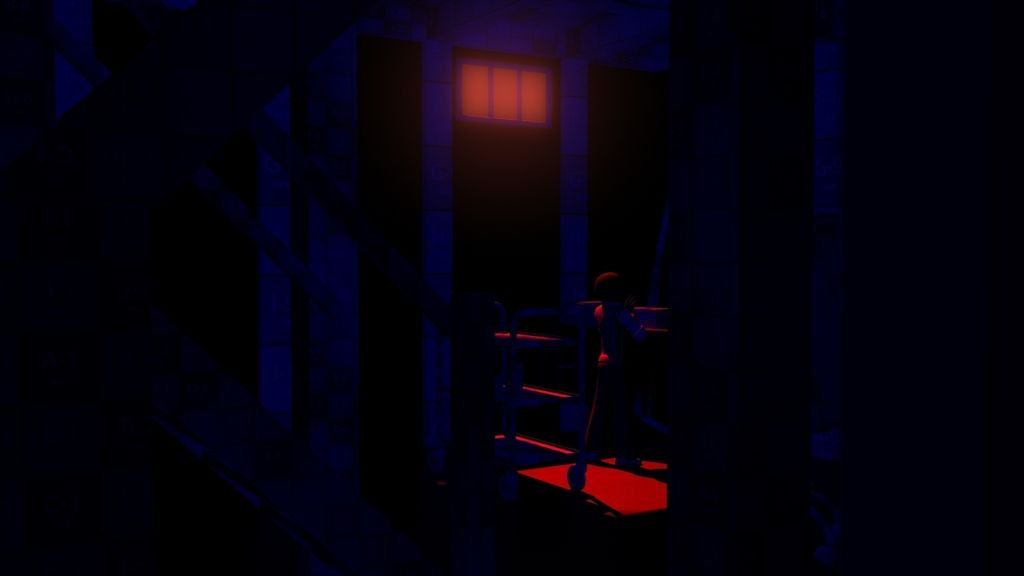 |
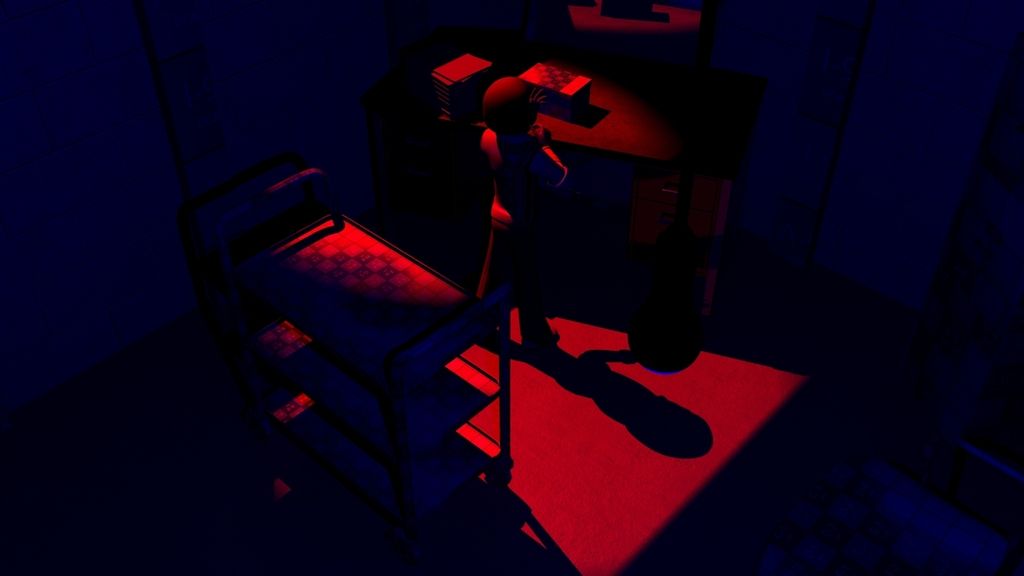
| Red Spotlight Through Window, Dark Blue Point Light - Increased Intensity |
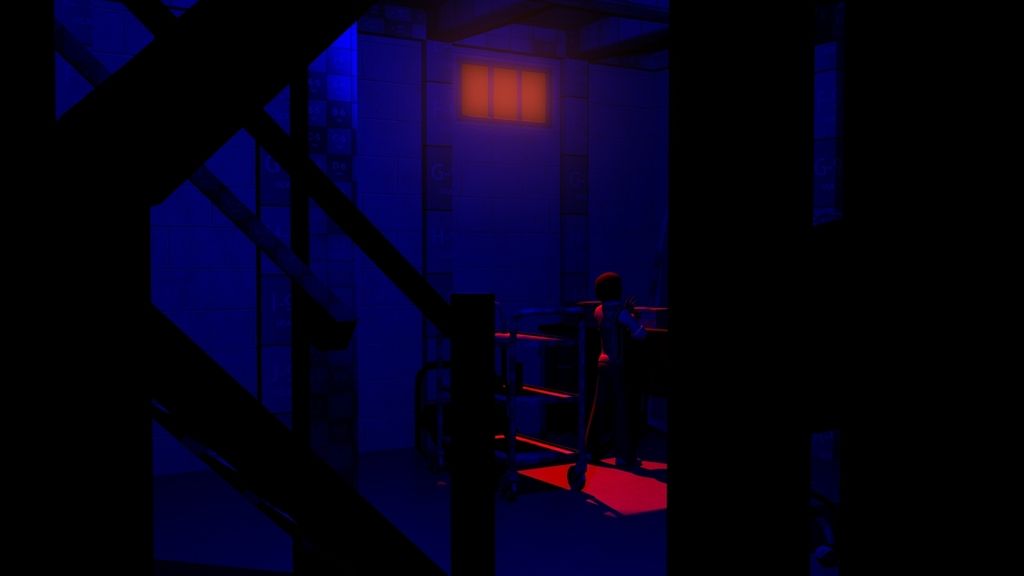 |
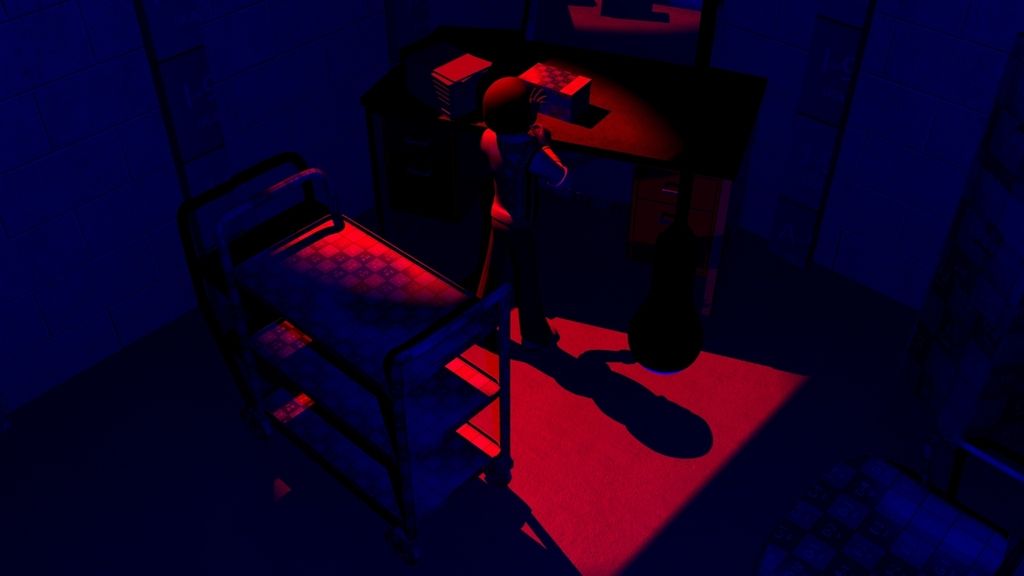
| Red Spotlight Through Window, Lighter Blue Point Light |
 |
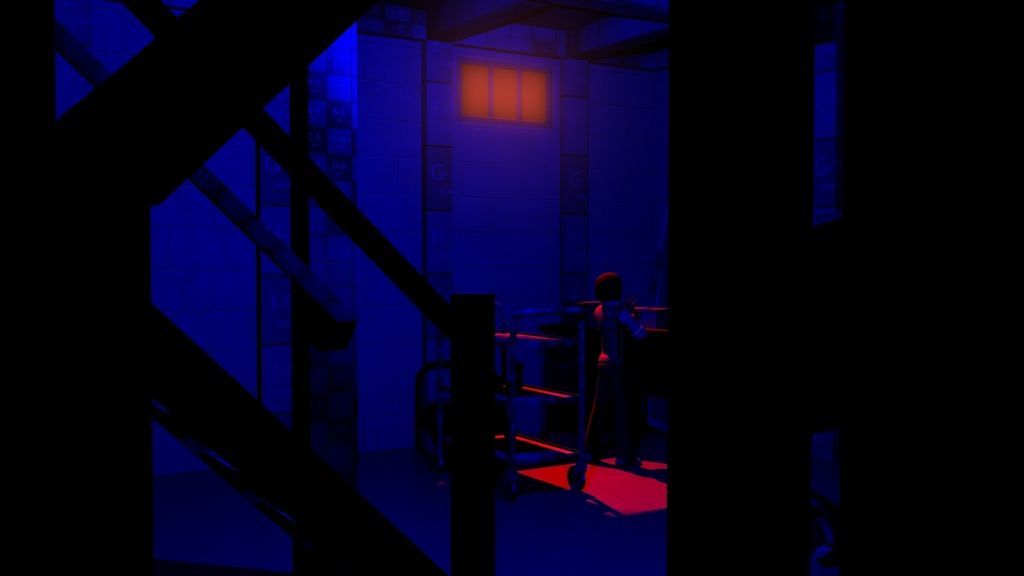
| Red Spotlight Through Window, Lighter Blue Point Light - Increased Intensity |
 |
| Red Spotlight Through Window, Lighter Blue Point Light - Linear Decay Rate |
 |
| Red Spotlight Through Window, Lighter Blue Point Light - Linear Decay Rate |
 |
| Red Spotlight Through Window, Darker Blue Point Light - Linear Decay Rate |
 |
| Red Spotlight Through Window, Darker Blue Point Light - Increased Intensity, Linear Decay Rate |
 |
| Less Vivid Red Spotlight, Darker Blue Point Light - Linear Decay Rate |
 |
| Less Vivid Red Spotlight, Darker Blue Point Light - Linear Decay Rate |
 |
| No Simulated Bounce Light from Mirror |
 |
| Strong Simulated Bounce Light from Mirror |
 |
| Mid Level Simulated Bounce Light from Mirror |
 |
| Mid Level Simulated Bounce Light from Mirror, Simple Rim Lighting |
 |
| Alternative Colour Scheme - Purple Spot Light Through Window with Green Point Light |
Sunday 22 March 2015
Major Project: Cellar Progress 22/3/15
I've mainly been working on getting the Cellar environment together over the last few days. Whilst I have been modelling and UV mapping, my main focus has been establishing the lighting.
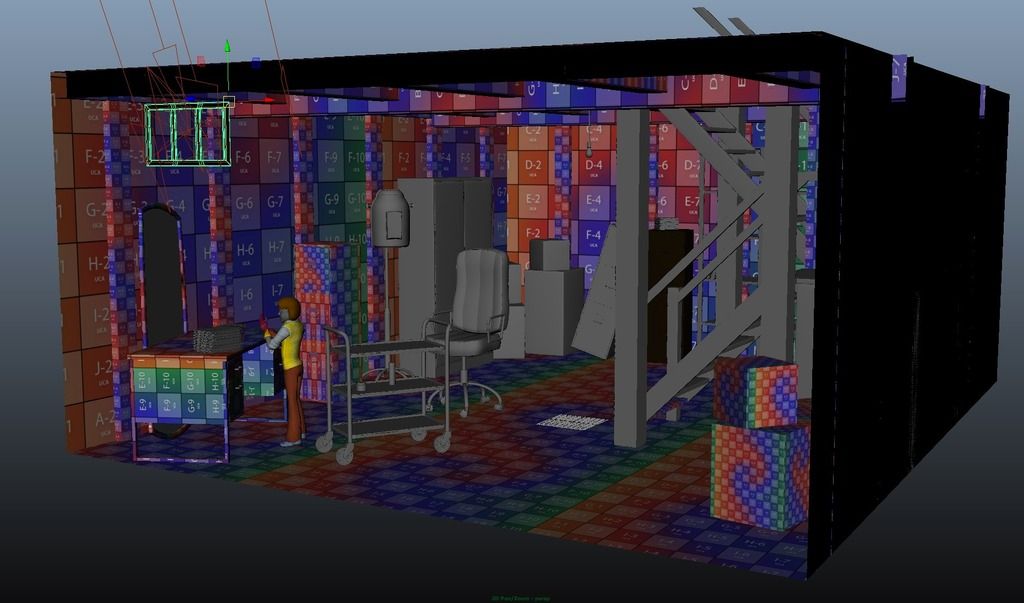
Modelling Progress So Far
Once I've figured out how the bulk of the setting is going to be lit, I can determine the elements that will require a bit more development in terms of texturing. In the above image, the key objects are already in place, it's mainly set dressing to be completed now.
The theory is, with the lighting focused at more or less one point, certain, non-'hero' background elements will only need a simple shader applied to help them blend into, but still convincingly sell, the environment. An example of this is the cardboard boxes in the corners of the room. They fill space, suit the setting, and will only require a basic shader to define what they are.
The shelving at the back of the room is only going to be shot through from within, and it is in a portion of the room that will receive minimal light so that can probably be sold with a simple, metalling shader also.
As for the lighting itself, I've been experimenting with alternative approaches to determine the most suitable setup both practically and cinematically.

No Lighting Setup
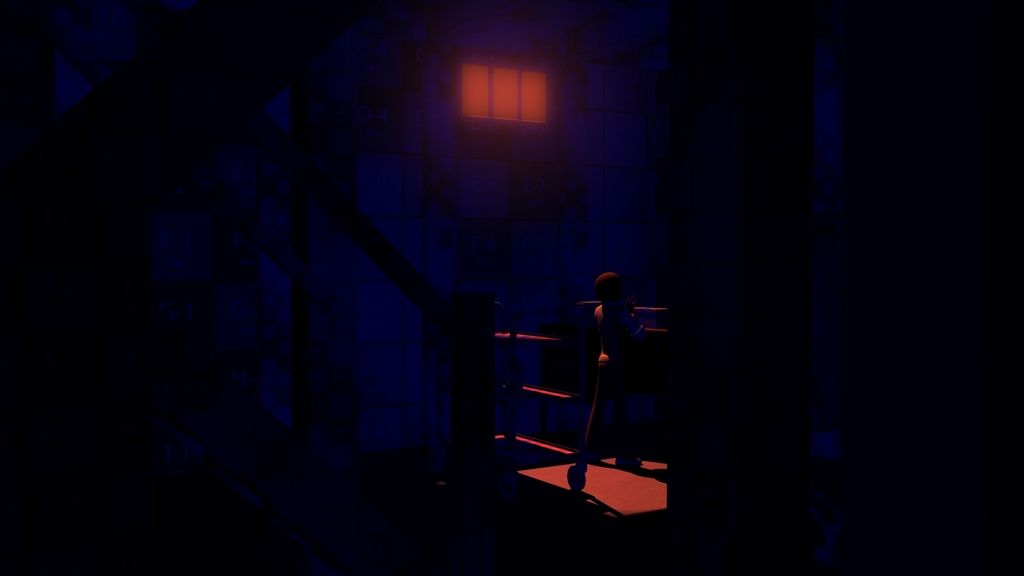
The following setup uses a simple spotlight positioned behind the window, with the exterior glow being sold by a simple surface shader on a plane. There is a lot of flexibility with this setup, and its fairly light in terms of rendering, but in this current state, it seems a bit too artificial.

Lighting Setup Using a Single Spotlight
This setup uses the Mental Ray Physical Sun and Sky, with a Portal Light behind the window to provide a far more natural and realistic outcome. Whilst I like how this authentically emulates how the light would respond in this scenario, it's flexibility is somewhat limited. Whilst I could employ lighting elsewhere to help direct focus around the scene, once you introduce an element of reality you're kind of committing to the rules of reality it brings along with it. Not to mention this particular method really knocks up render times with every little adjustment.

Lighting Setup Using Mental Ray Physical Sun and Sky, with a Portal Light at the Window
At this stage, both lighting setups are unrefined, however I feel as though there are aspects of both that would be beneficial. I'm going to need to tinker a bit more with both setups to achieve the sort of outcome I'm after.
Subscribe to:
Posts (Atom)